
 29 Comments
Amazon continues to invest in new tools, features, and programs that benefit the growth of small businesses on Amazon — especially those operated by brand-registered sellers.
One of the Amazon Advertising features available to sellers enrolled in Brand Registry is the ability to create a dedicated Amazon Store.
An Amazon Store is basically your own custom branded website on Amazon that allows registered brands to showcase their products — without any distractions from competitors’ products or ads. It’ll have the look and feel of a real ecommerce store, with Amazon’s huge audience reach.
Want to know how to create an Amazon storefront of your own? Stay tuned — we’ll take you through the process, step-by-step, by building one for Jungle Scout’s Jungle Stix brand of bamboo roasting sticks. Let’s get started.
What is an Amazon Store?
Amazon Stores is a free self-service advertising tool for creating a dedicated brand destination on Amazon. Creating a Store is an incredible way to showcase all your products and increase your brand awareness through an easy-to-navigate interface.
In the past, Stores were only available to Amazon Vendors. Now, any third-party seller enrolled in Amazon’s Brand Registry can create an Amazon Store.
It’s easy to design a multipage Amazon Store with simple drag-and drop-tiles or pre-designed templates. You can customize your store by adding your own images, videos, and descriptions.
Benefits of Amazon Stores
Curated brand destination
Your Amazon Store educates your customers about your brand while showcasing your best-selling products. Instead of having to search for each one of your products individually, shoppers can explore your entire product portfolio in your Store. You’ll also have your own custom “Amazon.com” URL; for example: https://www.amazon.com/stores/JungleCreations/
No competitor ads
In my opinion, one of the biggest benefits of having an Amazon Store is the freedom from competitor ads. Sponsored Products and Sponsored Brands ads create a lot of distractions on Amazon search results pages and even on product listings. But on your Store, customers will only see your brand.
Get creative
You have the opportunity to flex your marketing creativity with great images, infographics, or even videos for your products. We all know how important your main product images and A+ content are — now, you’ll have even more space to completely customize the look and feel of your brand.
Drive traffic directly to your Storefront
With Sponsored Brands or Sponsored Display Ads, you can drive traffic directly to your Amazon Store. This allows you to funnel customers away from your competitor’s products. You can also use your own social media accounts or email marketing to send traffic to your Store.
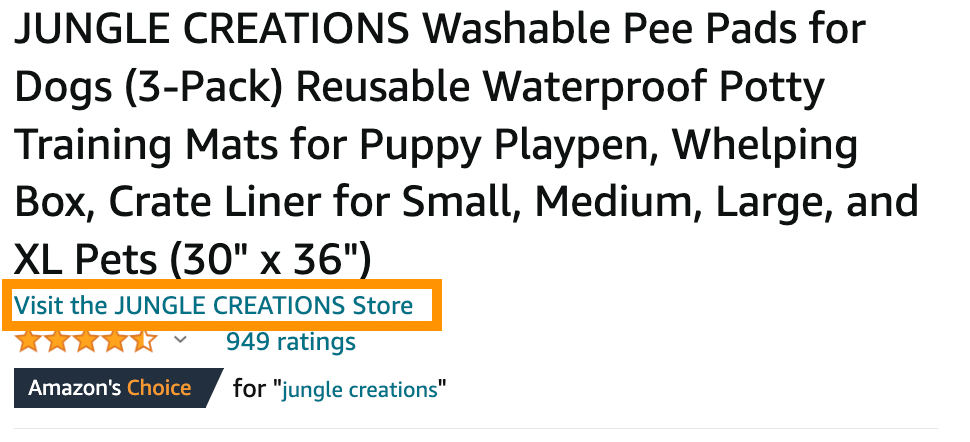
Customers can also find your Store by clicking “Visit the [BRAND NAME] Store” underneath a listing’s title.
Add multiple pages and subcategories
If your brand includes multiple subcategories of products, you can create subpages to host them. For example, if you sell a range of kitchen appliances, you can set up pages for coffee machines, toaster ovens, air fryers, and other groups of items.
Store insights dashboard
The dashboard allows you to find out where your Store traffic is coming from, see how well your Store is driving sales, monitor page views, and more. These KPIs allow you to make accurate decisions about how you market your products and Store.

Requirements to create an Amazon Store
Stores are available for Vendors and sellers enrolled in Amazon Brand Registry. For more information on how to become brand-registered, check out our updated guide.
How to build an Amazon Store
In this section, we will build a real Amazon Store for the Jungle Scout brand, Jungle Stix! Since there’s only one product in the Jungle Stix brand, we won’t need to build subcategory pages, but I’ll still show you how to set them up.
We recommend creating new images and infographics specifically for your Amazon Storefront. Don’t use the same images you have on your listing page — take the opportunity to change things up to attract customers and give them more visual information about your products. I’ll share some good examples below to give you ideas.
As always, before creating images or videos, make sure you review Amazon’s creative guidelines for Stores. If you’re not great at graphic design or confident about your product photography, we recommend hiring a professional Amazon freelancer to create high-quality, Amazon Store compliant images.
We also have a fantastic YouTube video on how to create an Amazon Storefront. Check it out! Amazon Storefront Tutorial | Step by Step Guide to Building a Free Storefront
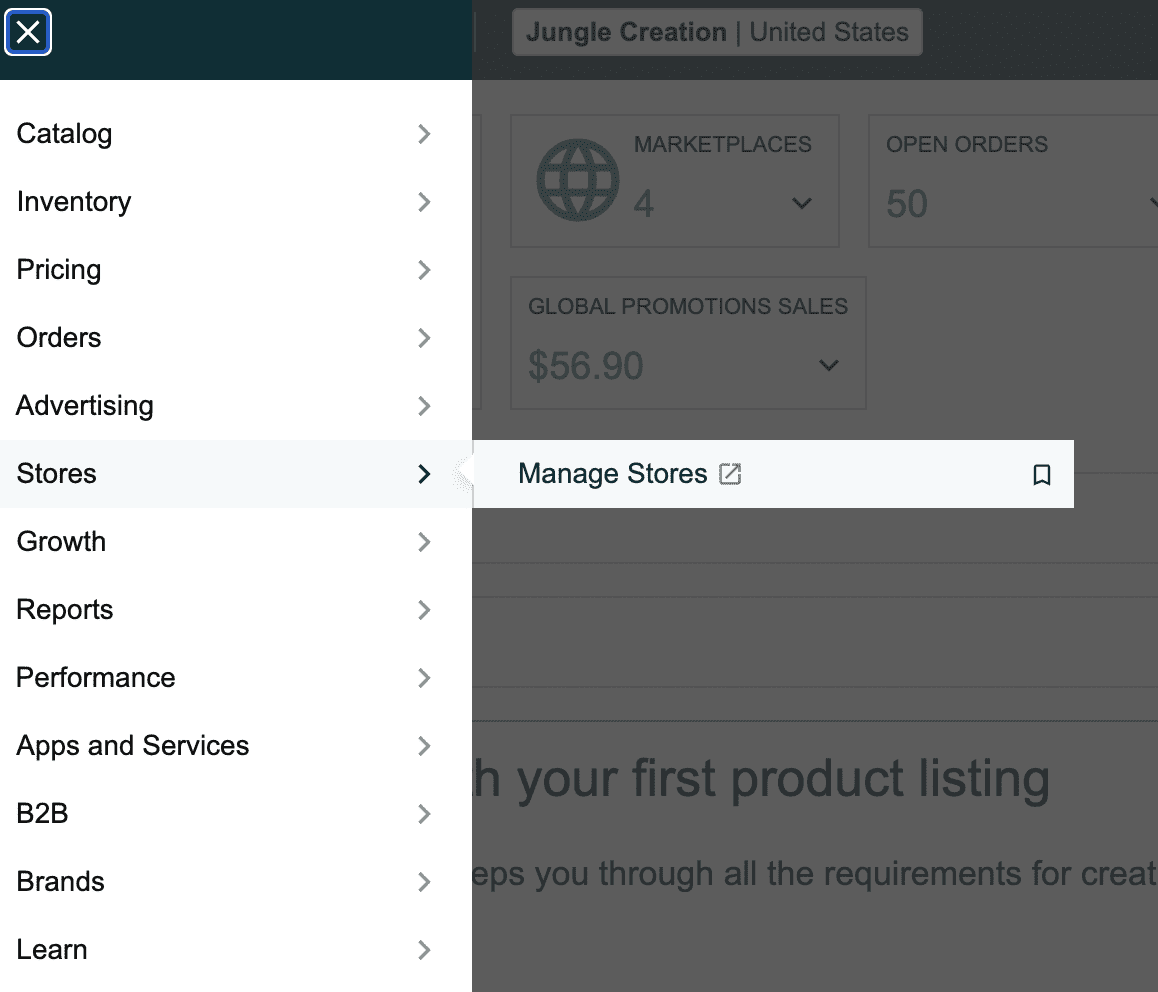
Step 1:
In Seller Central, go to the “Stores” tab, then click “Manage Stores.”
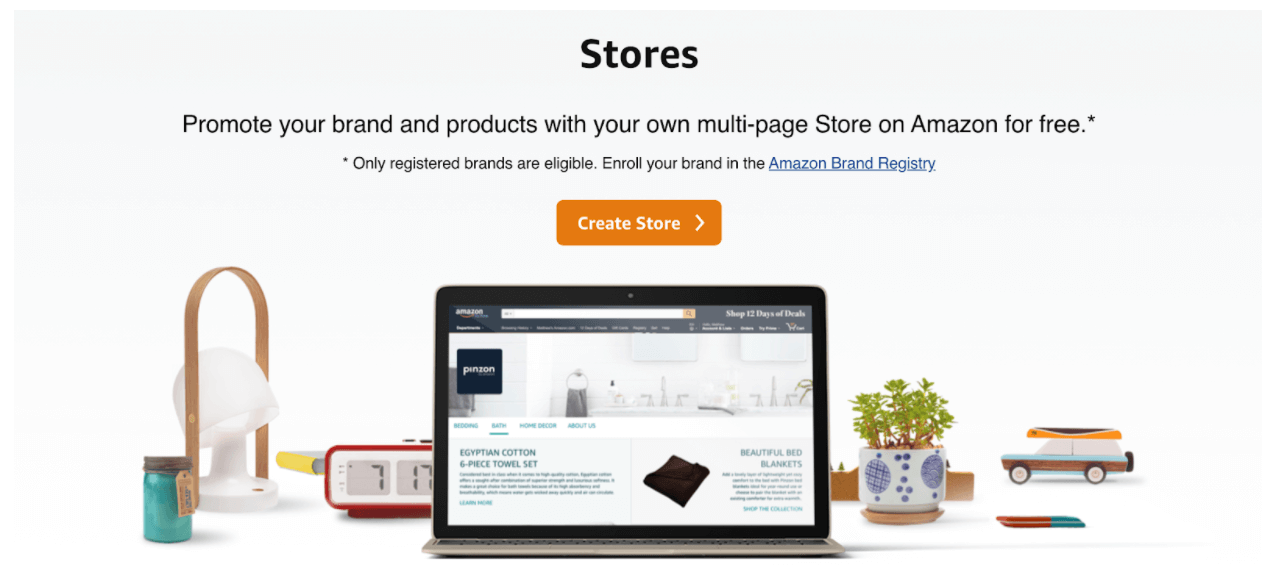
Step 2:
Click “Create Store” and choose your brand.

Step 3:
Now you’ll be in the Store builder. This first step is to enter your brand display name and brand logo. Then, click “Next.”
![]()
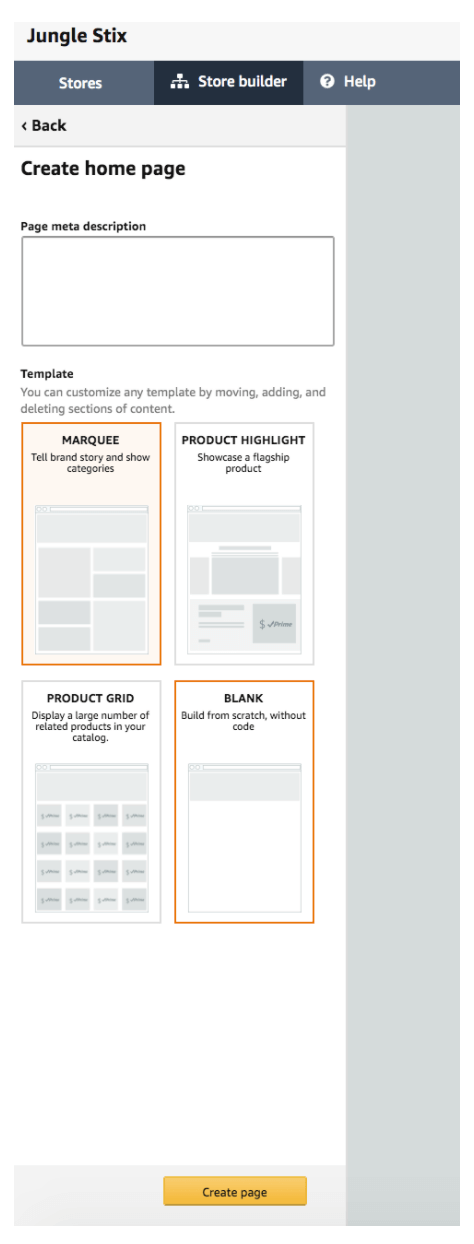
Step 4:
Now, let’s create a Home Page — this is what customers will see first upon entering your Store. Amazon will give you a few different templates to choose from; you can tell a story about your brand, highlight a best-selling product, or display all of your products at once in a grid. You can also start from scratch with a blank page. For Jungle Stix, we will choose the “Product Highlight” template.
You also need to enter a meta description for the home page, which provides information about your page for search engines. Not only will this short snippet of text help your Amazon Store rank in a Google search, it’ll give viewers a preview of your brand or products. Make it informative and catchy.
Step 5:
Start building your store! Here’s where you can add page sections, images, and thumbnails for product listings.
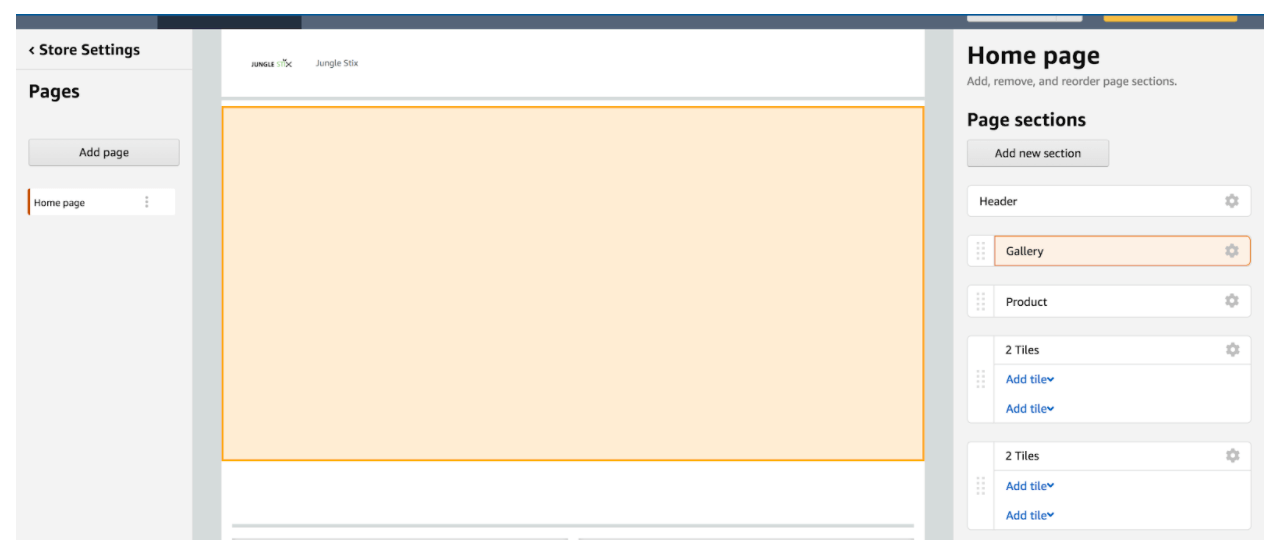
Take some time to familiarize yourself with each section.
How to add new pages for each subcategory:
By default, the “Home Page” already exists. We’ll build subcategory pages that customers can navigate to from the home page.
On the left-hand side, click on “add page.”
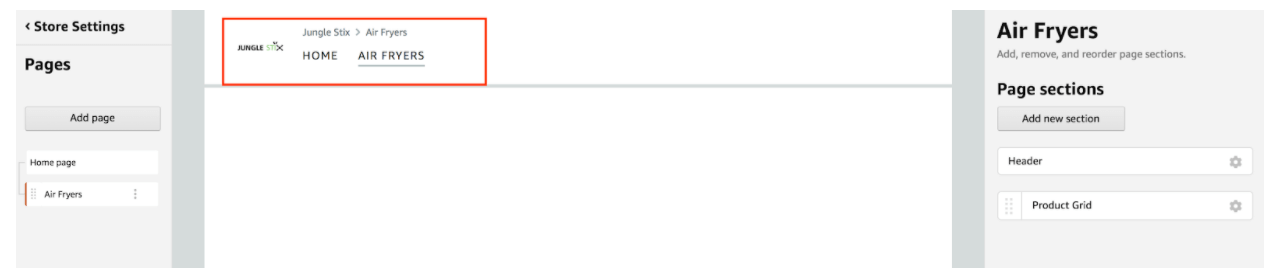
Enter the title you want to use for the page, a description for the subcategory, and choose a template. As an example, let’s pretend we need a subcategory page for Jungle Stix air fryers. For this page, we’ll select the “Product Grid” template so we can display all of our different air fryer products at once.

After you hit “Create page,” your subpage will show up in your Store home page as a new tab, as pictured below:
I’ll add another subcategory labeled “toasters,” so you can see how multiple subcategory tabs populate the home page.
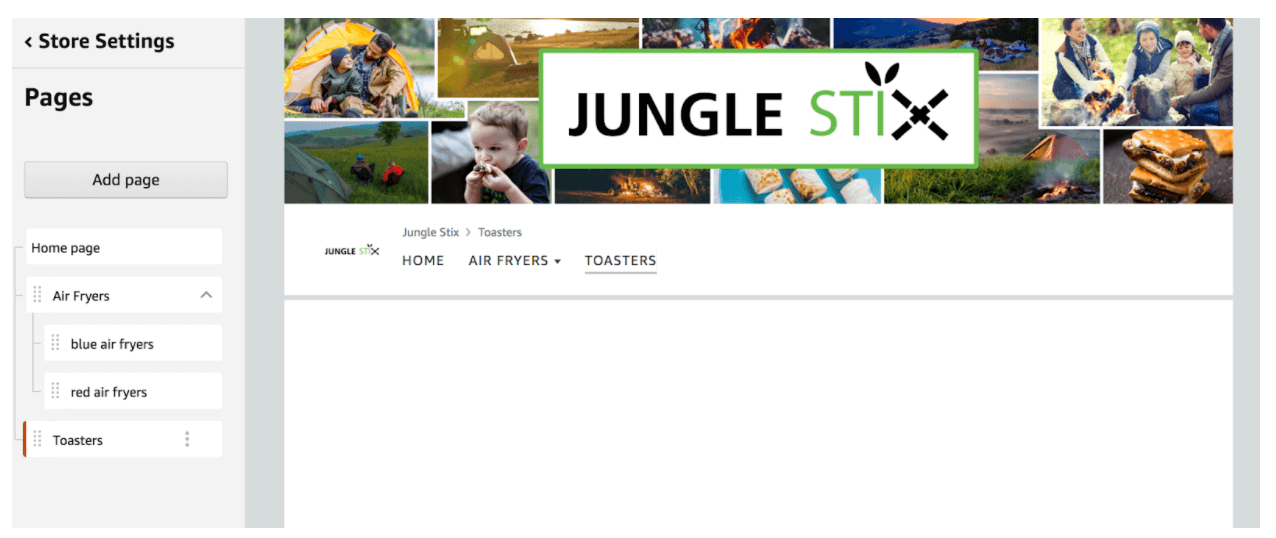
If you want to further categorize products within a subcategory, you can create a drop-down menu from the subpage’s tab. For example, if my air fryers come in a range of colors, I can create a drop-down menu to filter them by color.
Add drop-down menu options by clicking on the tab you want to customize (in this case, “Air Fryers”), then “Add page.” In the image above, you can see that I’ve added “blue air fryers” and “red air fryers” to the “Air Fryers” subcategory drop-down menu. In the preview, you can see a tiny triangle next to “Air Fryers, indicating the menu.
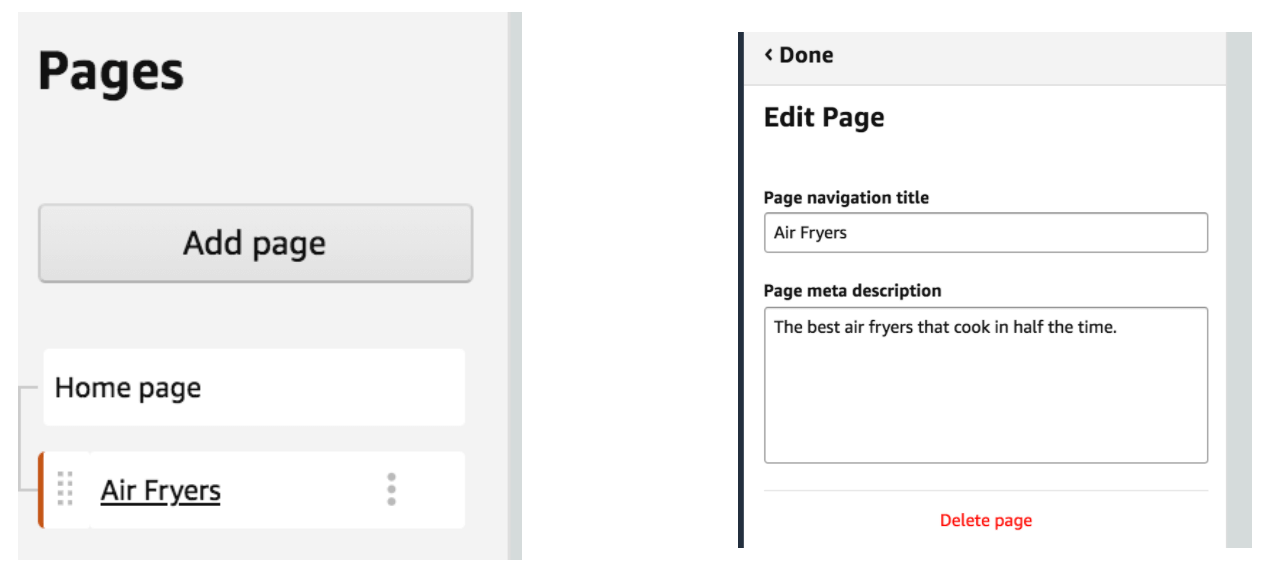
Jungle Stix does not sell air fryers, so I’m going to delete that section before I publish my Store. To delete unwanted subcategory pages, click the three vertical dots next to the page name on the left-hand navigation menu, then “delete page.”
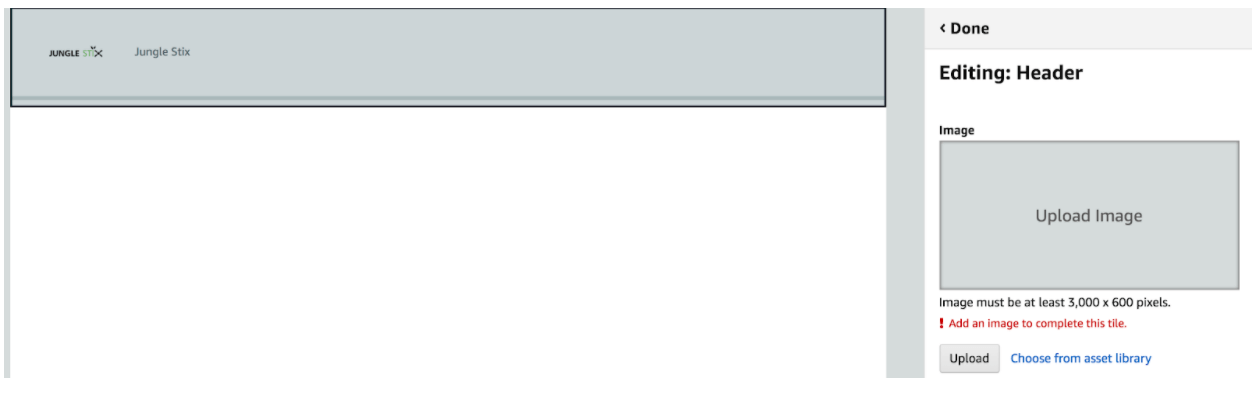
Adding a header
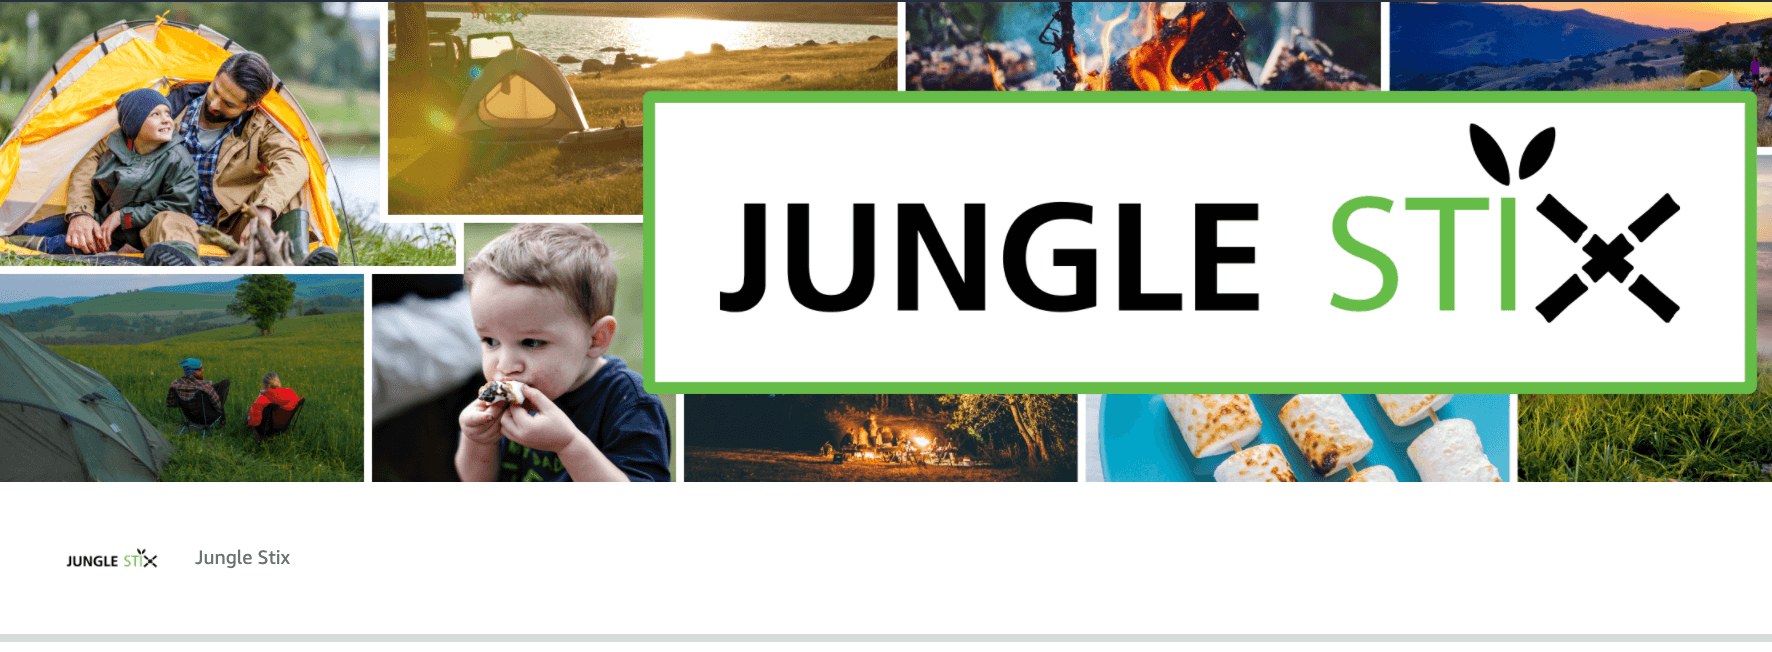
Now, I am going to add a banner image in the “header” section of our Store. The header is important — it allows you to establish your brand with your logo or a branded image, so your customer knows they’re at your Store. Remember, check Amazon’s creative guidelines to get the exact dimensions before creating the banner. Amazon will also remind you of the size of the image you need in the upload widget.

To upload a banner image, click on the header section of your Store shown above. As the name suggests, it’s located at the very top of your home page.
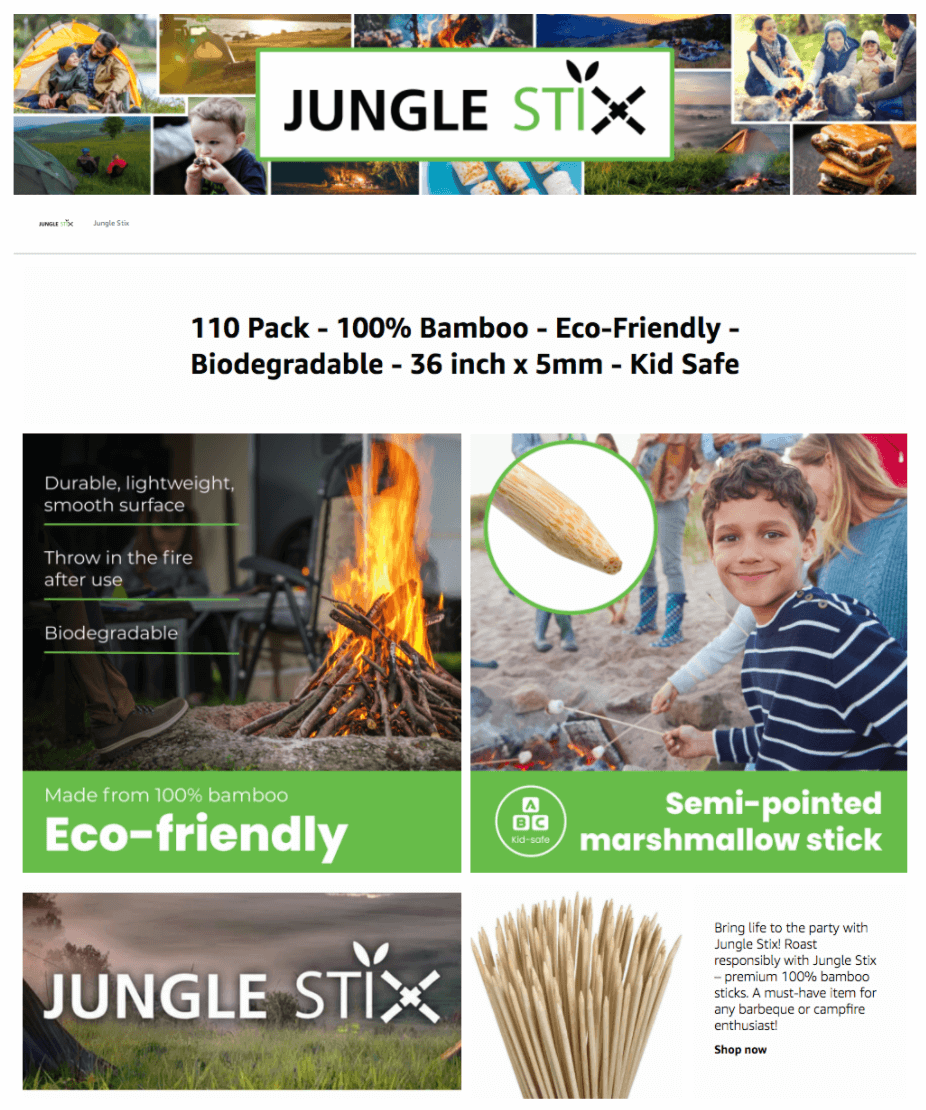
Here’s how it looks after uploading:
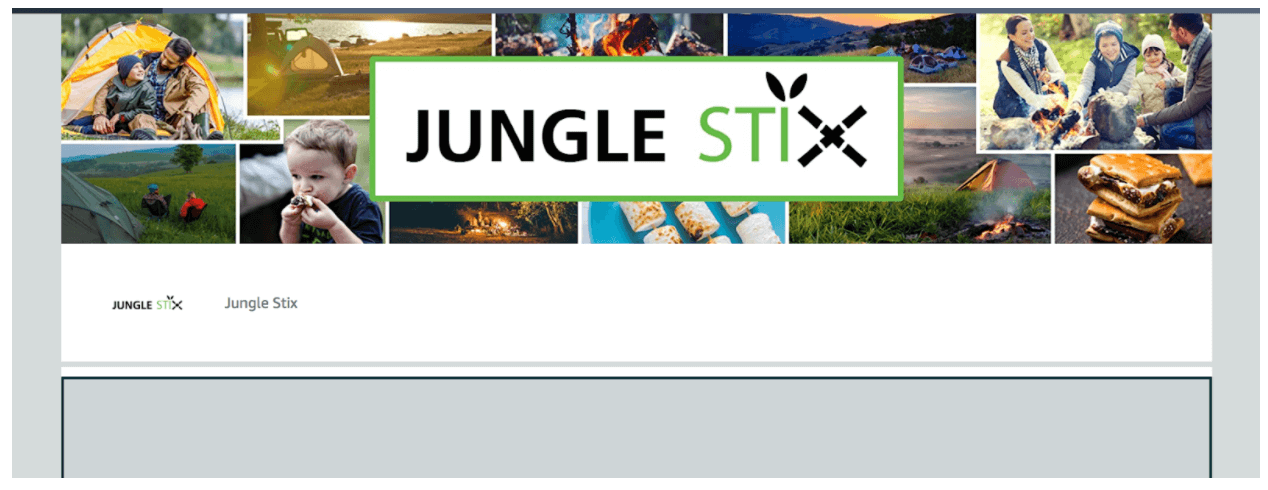
The customer can now see the Jungle Stix logo, with some lifestyle images of the product.
Customizing your Store
Now, you can start adding new sections to your homepage and subpages.
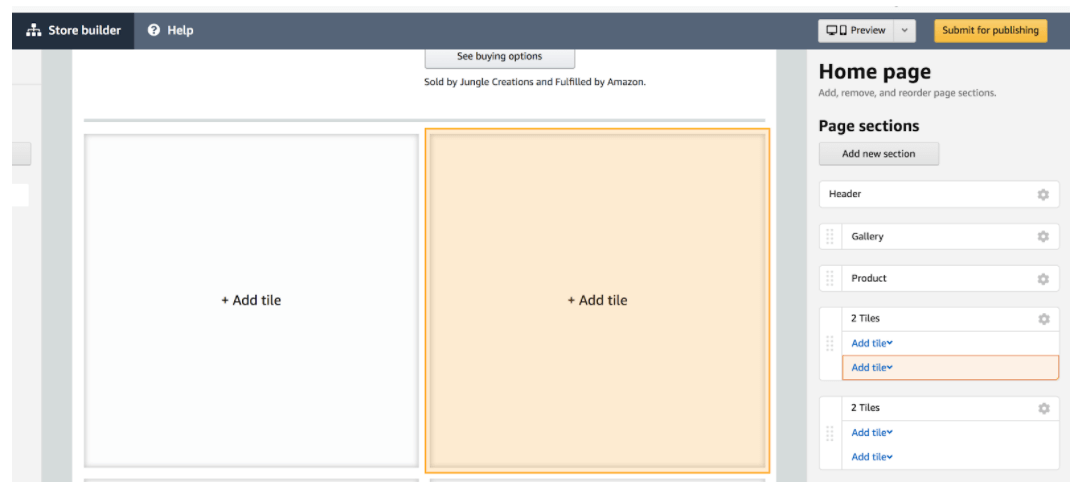
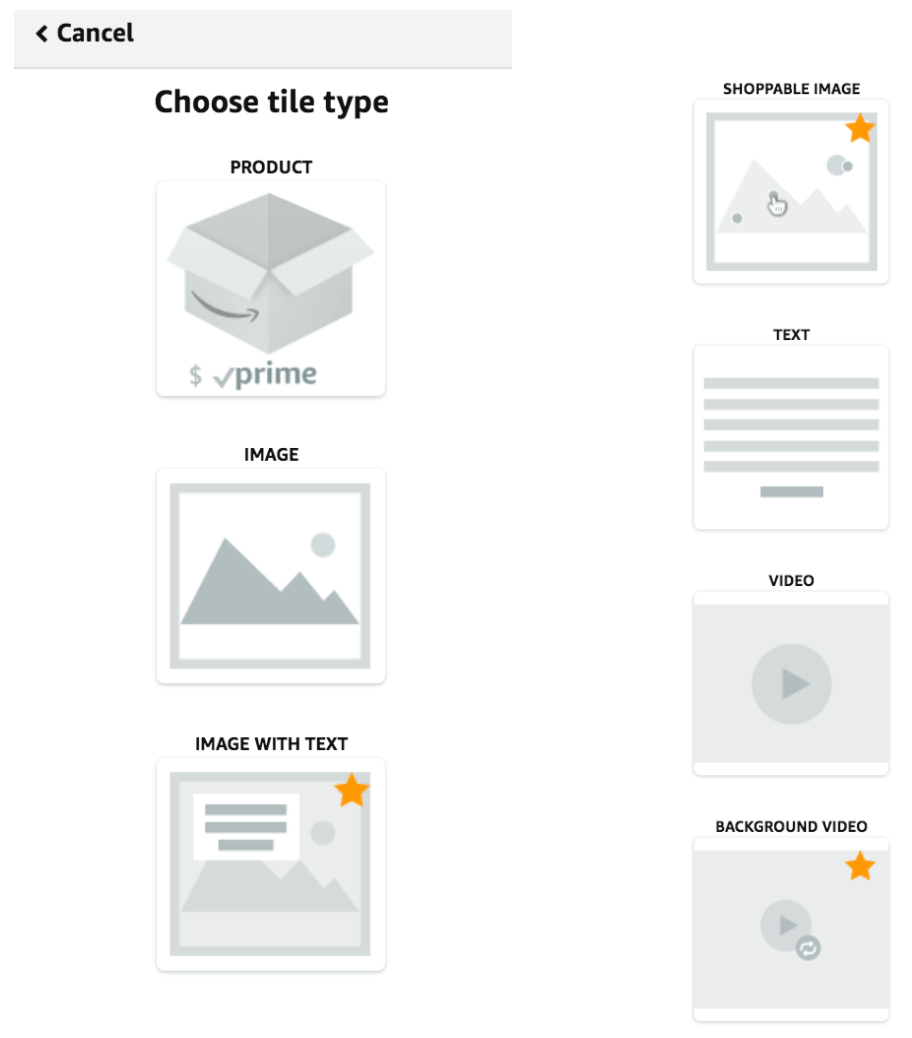
You can use these sections to display product images, listing previews, video, or text. To add a new section, click on one of the blank tiles on your home page, and choose your desired tile type.
Note: You can link image tiles to product listings, so if a customer clicks on an image, they’ll navigate to the product pictured.
To add a split tile section, click on “Add new section,” then “split section.” Amazon will provide you with multiple split-section layouts to choose from.
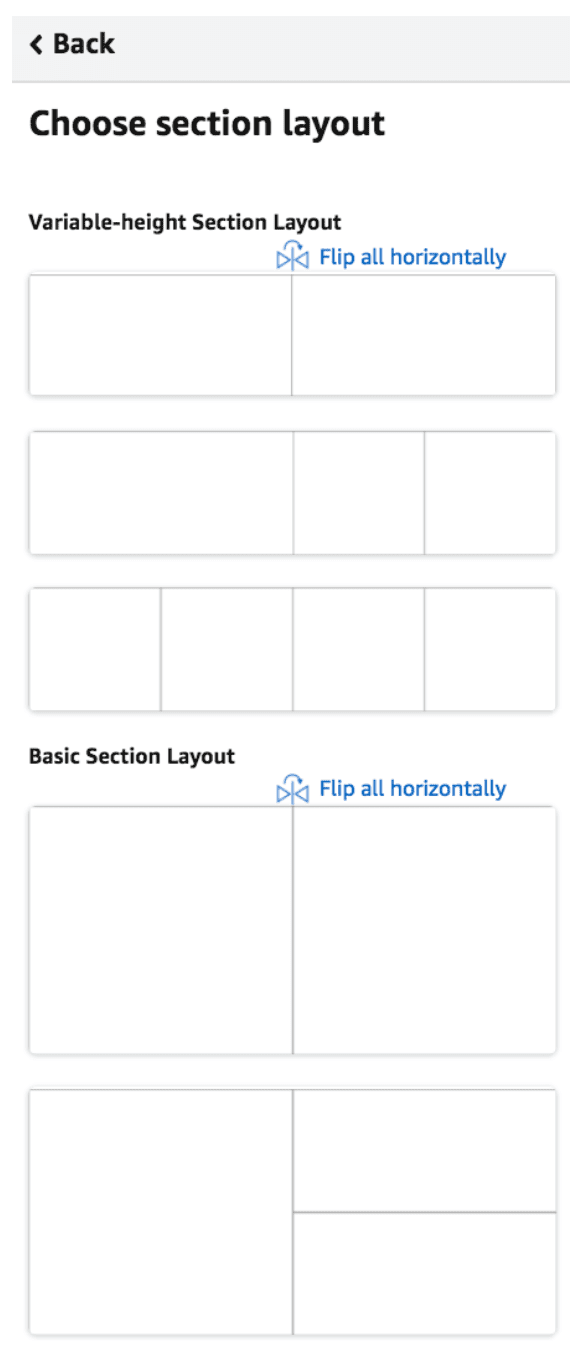
Note: At any time during your Store creation process, you can preview it on desktop or mobile to see how it’s shaping up.
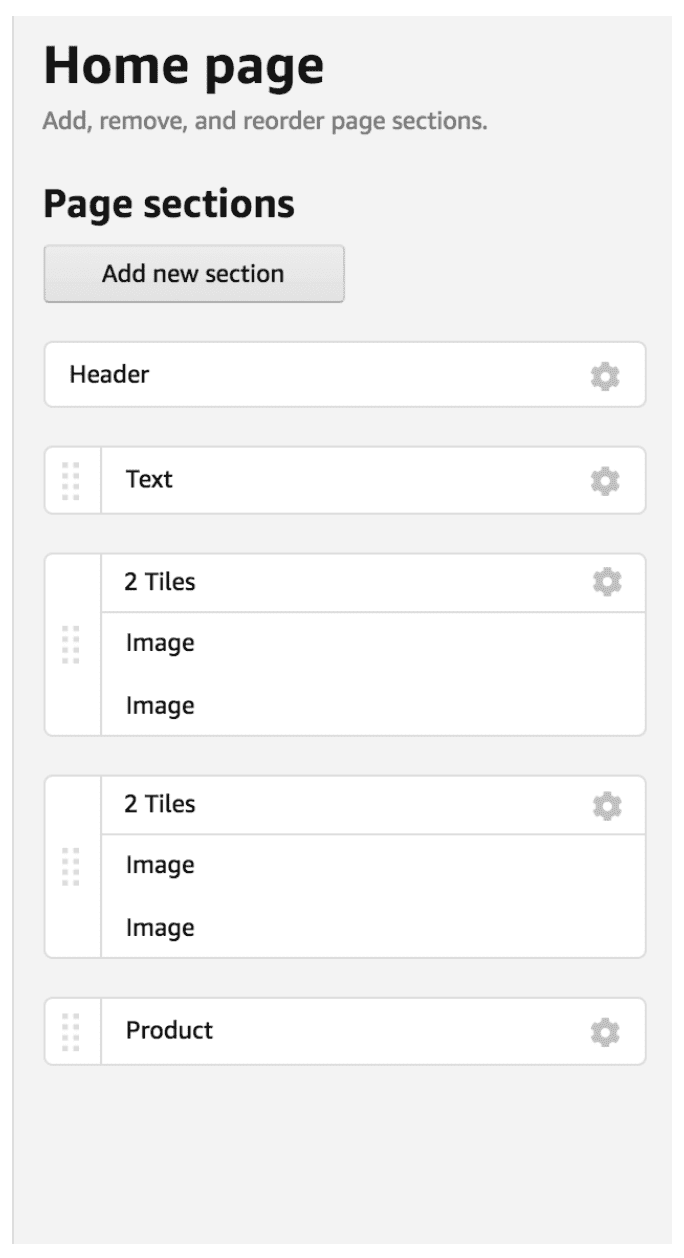
Play around with the various tile options to see which looks best for your brand. You can reposition the sections section by dragging and dropping the tiles. Here’s how the Jungle Stix Store looks so far:
Here are the tiles I’ve used:
- Header
- Text description
- Split tile
- Image
- Image
- Split tile
- Image
- Image
- Product
Amazon displays your tile choices so you can keep track of what you’ve created.
If you have many different products in your brand, you can feature multiple products in a “Product Grid” or “Gallery” tile.
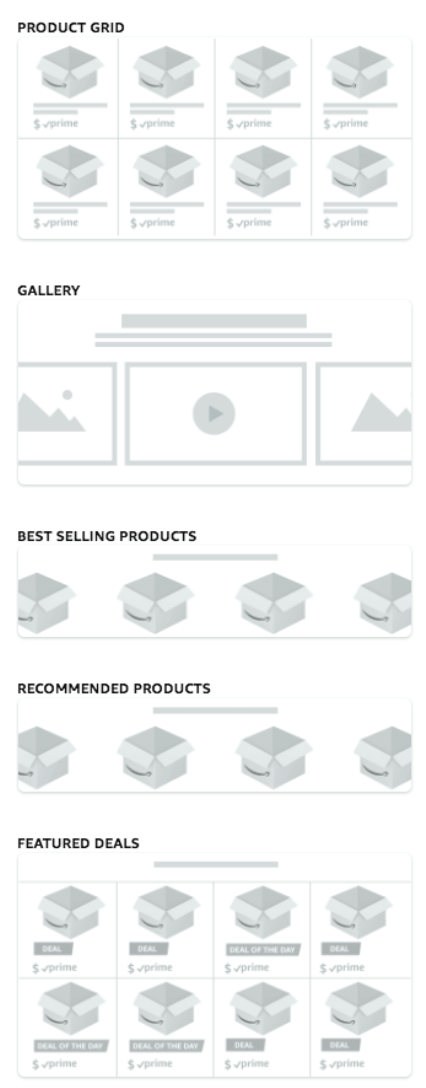
Featuring your entire product line in your Store is a great way to showcase some of your newer products. This brand, called Better Boats, breaks up its home page with a “product grid” tile below two lifestyle product images.

Let’s go to one of Better Boat’s subpages to see how they feature each subcategory. We’ll try “Ropes.”
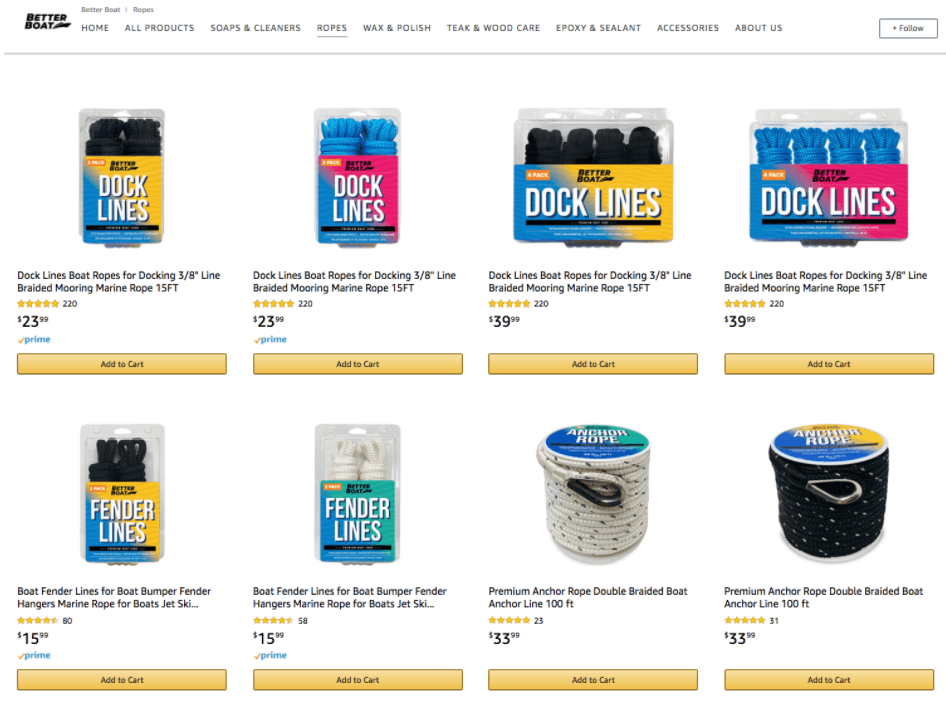
On this page, they used the “product grid” tile again to show all products that fall under the “Rope” subcategory. Customers can click a thumbnail to view a product’s full listing, or, if they already know what they want to buy, they can conveniently add the product to their Amazon cart straight from the subcategory page.
Step 6:
Once you are done building out your new Amazon Storefront, the last step is to click “Submit for publishing.” Once submitted, Amazon will review your Store within 24 hours. Once it’s approved, be published for customers to see on Amazon.
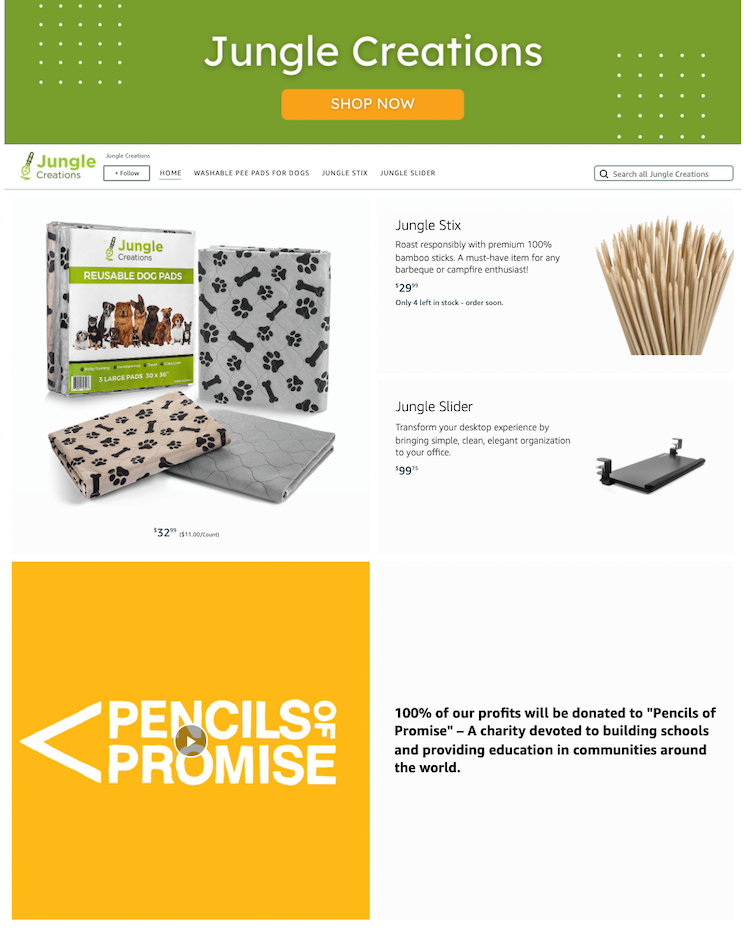
Below is the final design of the Jungle Stix Amazon Store. I added plenty of lifestyle images so customers know how to use the product and product listing thumbnail for easy purchasing. I also added a split tile to let customers know — with a video and text — that the proceeds from Jungle Stix sales go to charity.
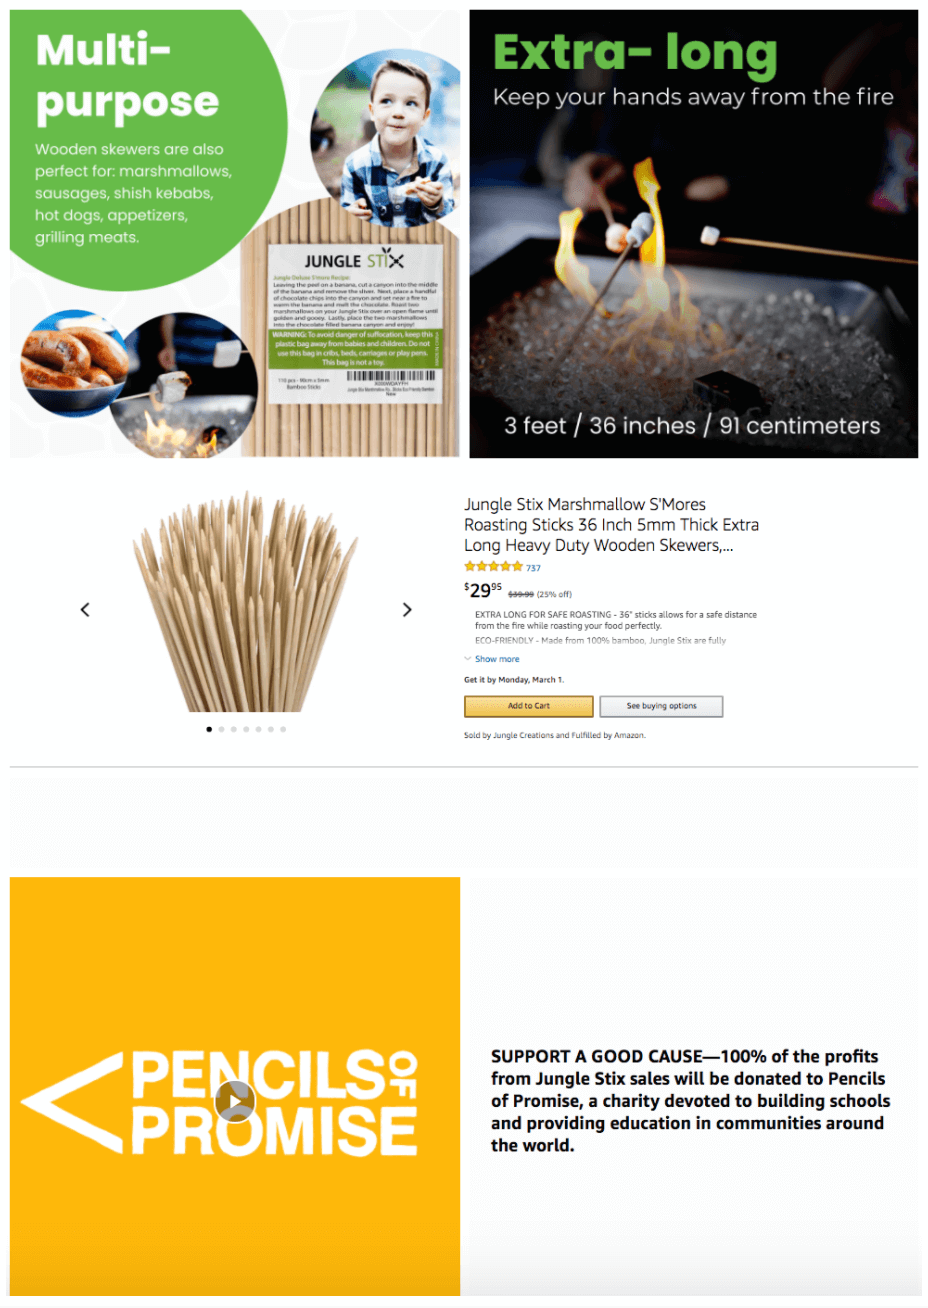
What do you think? Pretty nice, huh?
Overall, building a Store on Amazon is fairly simple. You just need to take some time to experiment with the layout until it looks exactly the way you want. Play around with different sections and the order of the tiles to make your Store unique.
Our way of giving back
Jungle Scout launched Jungle Stix, along with a few other products, as part of our Million Dollar Case Study. The purpose of this series is to show sellers like yourselves exactly what it’s like to sell on Amazon, step-by-step. We guide you through everything from product research, to ordering inventory from your supplier, to actually launching the product on Amazon.
And it’s free to watch!
Our goal, as you can tell by the name, was to hit one million dollars in sales and prove that selling on Amazon is a viable way to earn real income. But that’s not all — we also set out to donate 100% of the profits to charities like Pencils of Promise and Doctors without Borders — and we’ve done exactly that.
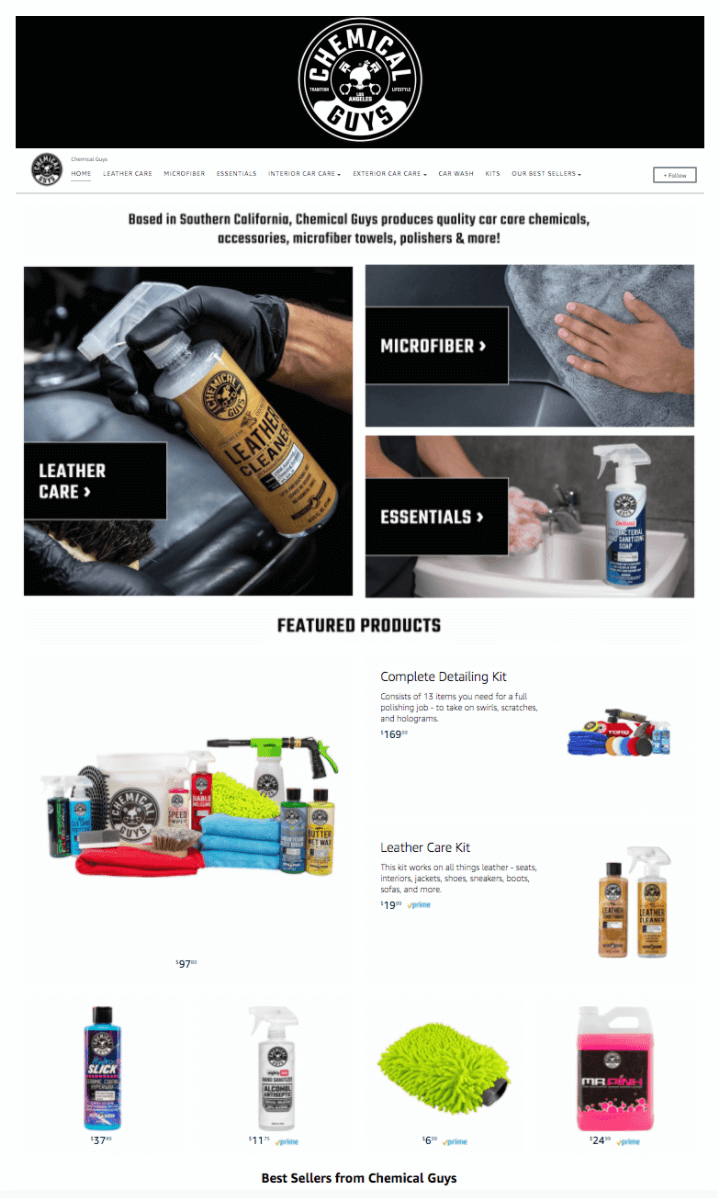
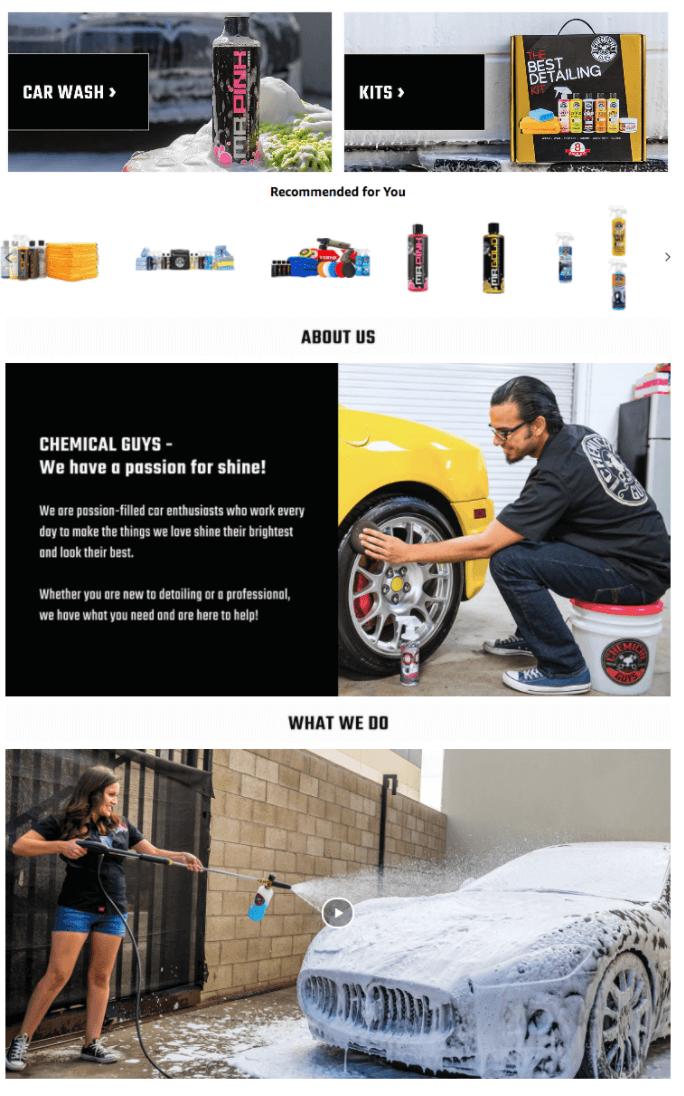
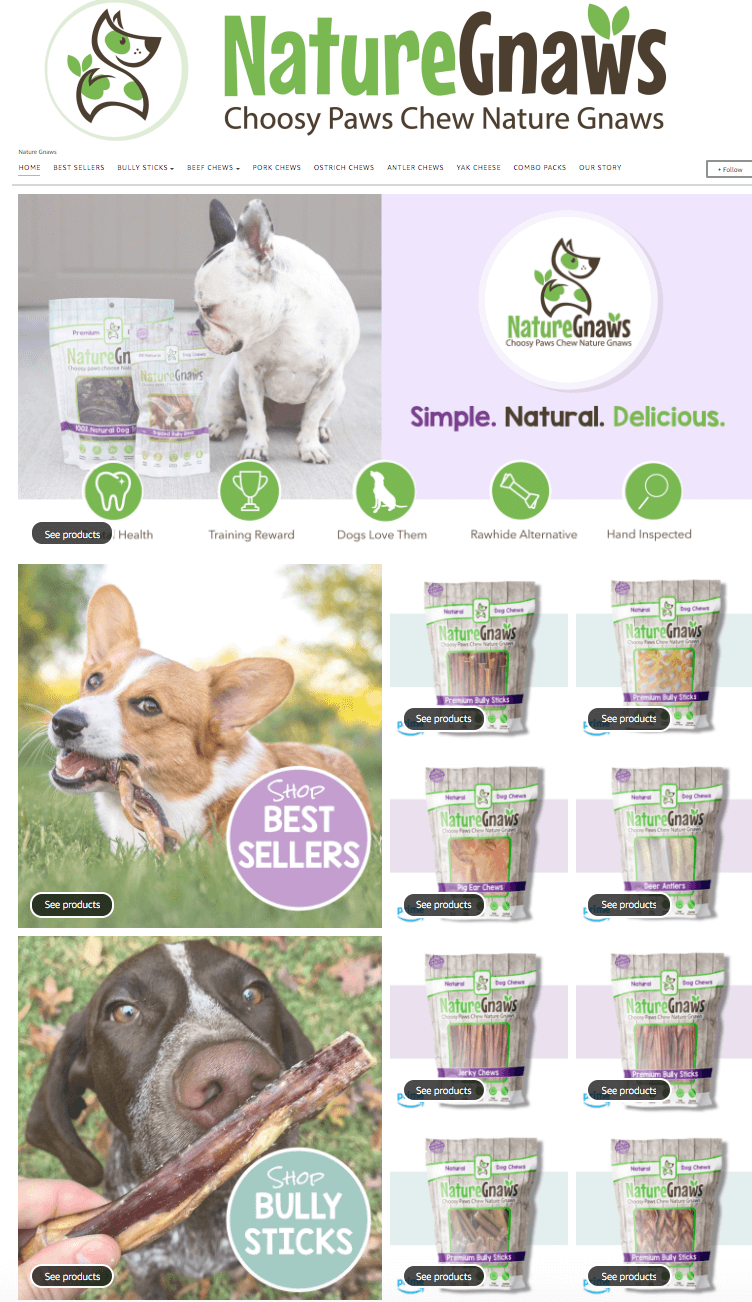
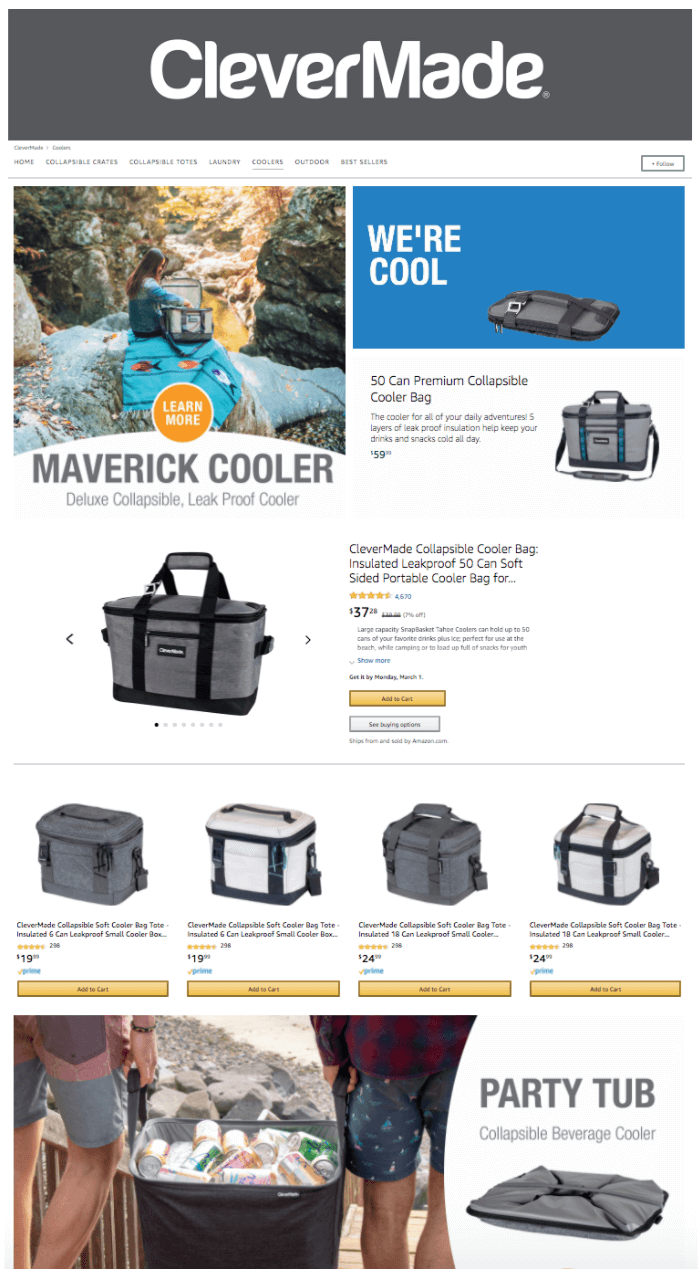
More Amazon Store examples for inspiration
Start building your Amazon Storefront
If you are brand-registered on Amazon, there’s really no reason why you shouldn’t be taking advantage of Amazon Stores.
We hope this step-by-step guide inspires you to continue growing your brand on Amazon.
Do you have more questions about Amazon Stores? Let us know in the comments!
Want to learn more about how Jungle Scout can help you start, grow, and run your Amazon business? Click the button below and get started!
29 comments on “How to Create an Amazon Storefront in 2023”
I have been frustrated that there wasn’t a descent tutorial on how to create an Amazon store front until today. Thank you for your video as well as written steps. It is exactly what I was looking for. Now to get to work!
Great to hear! Thanks for reading.
Hi there, I have a query regarding entering the title of a specific subcategory. for instance, I am selling women’s bags, wallets, sling bags, backpacks, etc so when we go to a specific tab like for wallets than they ask for mandatory input in the title just below the picture, but the problem is whenever I am adding any title like wallets or sling bags its just not approving and stating that it’s against the policy.
What policy does it say you are violating? Are you approved to sell the brand you are listing as?
I have an individual seller account and am enrolled in the amazon brand registry, but when i go to create a store, i get a 404 error. Do you have any ideas on why this is happening?
Hi Linda,
You will need a professional account to create an Amazon store.
Hi
Hope you are doing well. You have done such a great informative video. Thank You!
I have a question sir I want to add search bar on my AMZ storefront how can I put that
Kindly let me know about that I am very thankful to you.
Regards
Hi Wardah,
That is a great question! I looked in the backend of the Store creator and cannot find an option to do so. Though I do see some stores with a search bar.
Great article. Can you add existing products to a new store (we have some under our brand and some under generic)?
Hi Michael,
Yes, you can sell existing Amazon products on your Amazon account.
thanks for detailed information
A very detailed and helpful post you have here.Thanks for sharing this article. You have given me knowledge about How to create an Amazon Storefront. I hope your tips will help me a lot and other people who wants to create Amazon Storefront.
Thanks for reading!
Thanks for these detailed instructions! I was wondering how to go about creating an amazon store.
Great! Thanks for reading.
If you are brand registered but only selling one product, when would you create a storefront? I expect to be fully profitable by my 2nd or 3rd inventory order but not sure if I should go this extra step right now with just 1 product.
Hi Steven,
It is not necessary but it can still help improve the conversions of your product. It will be good for when you launch other products so you can easily add them to the store.
Two Questions:
Can I put products in my store that aren’t listed on Amazon yet?
When I see type on top of a photo, was that done in photoshop, or does the template let you do it right there?
Hi Ellen,
Yes, you can.
And that is done in editing software such as Photoshop or Canva. Or can be done by hiring a graphic designer.
Hello,
We have an informational Blog site with approx 50 articles. We do not have any physical product or brand of our own to sell. We do have have a blog site with multiple categories, one being Pets (currently not published yet) which show photos on various built-ins, pet supplies etc. I myself have purchased and know about many of the products that i recommend on our site…… I am trying to find out if i can add a link that takes visitors to a page that displays all of the products that we recommend, because we have purchased them and know about them and want to promote them to our visitors…? Maybe by adding a link on our home page somewhere or?
I cannot seem to find out how to do this…. My partner and I have signed up for the Affiliation program with amazon… BUT rather than having visitors click into each Photo under the pet category article or other articles…. can we add a link that brings visitors to a Single Page or two that displays all of the products that we recommend? Basically all of the products of each category being displayed all in one area? STUMPED….
I think that the Amazon Store front is for owners of specific products that they want to sell… I do not think that is for us after reading your information above.
In our case we want to promote products that we have purchased through Amazon only…..
Any help would be greatly appreciated.
Kindly
loretta
Hi Loretta,
You can do that by joining the Amazon Influencer program: https://www.amazon.com/b?ie=UTF8&node=23536810011
How do we register for Amazon storefront?
Hi Mahabir,
You can only create an Amazon storefront if your brand is enrolled in Brand Registry. Have you done that yet? If not, check out our article on Amazon Brand Registry to learn how to enroll.
Hi! I find your article useful and informative.
I saw the blue squid storefront and I really like how they create their storefront.
Can you teach me how to do the same with their homepage?
They put images and when you click the image on the home page it will direct you to another page on their storefront.
Thank you.
Hi Cindy,
When creating your storefront, there are a few different modules you can use to create that in your store. You will be able to link to your product pages as well. Amazon makes it pretty easy to build the storefront in the backend.
Hi great content my store got approved but the link is not shown on my product page it still just says my brand name
Is there usually a delay after approval
It’s over 24 hrs at the moment
Thanks
Any feedback would be much appreciated
Hi Martin,
Do you mean when it says “Visit the ___Store” ? I’m not sure how long it will take for that to show up. I’m sure in the next couple of days that should change now that your storefront is live.
Hi,
How much does it cost to create an Amazon store.
Hi Matthew,
If you set up an individual seller account, it is free. If you sign up for a professional seller account, it will cost $39.99/month.